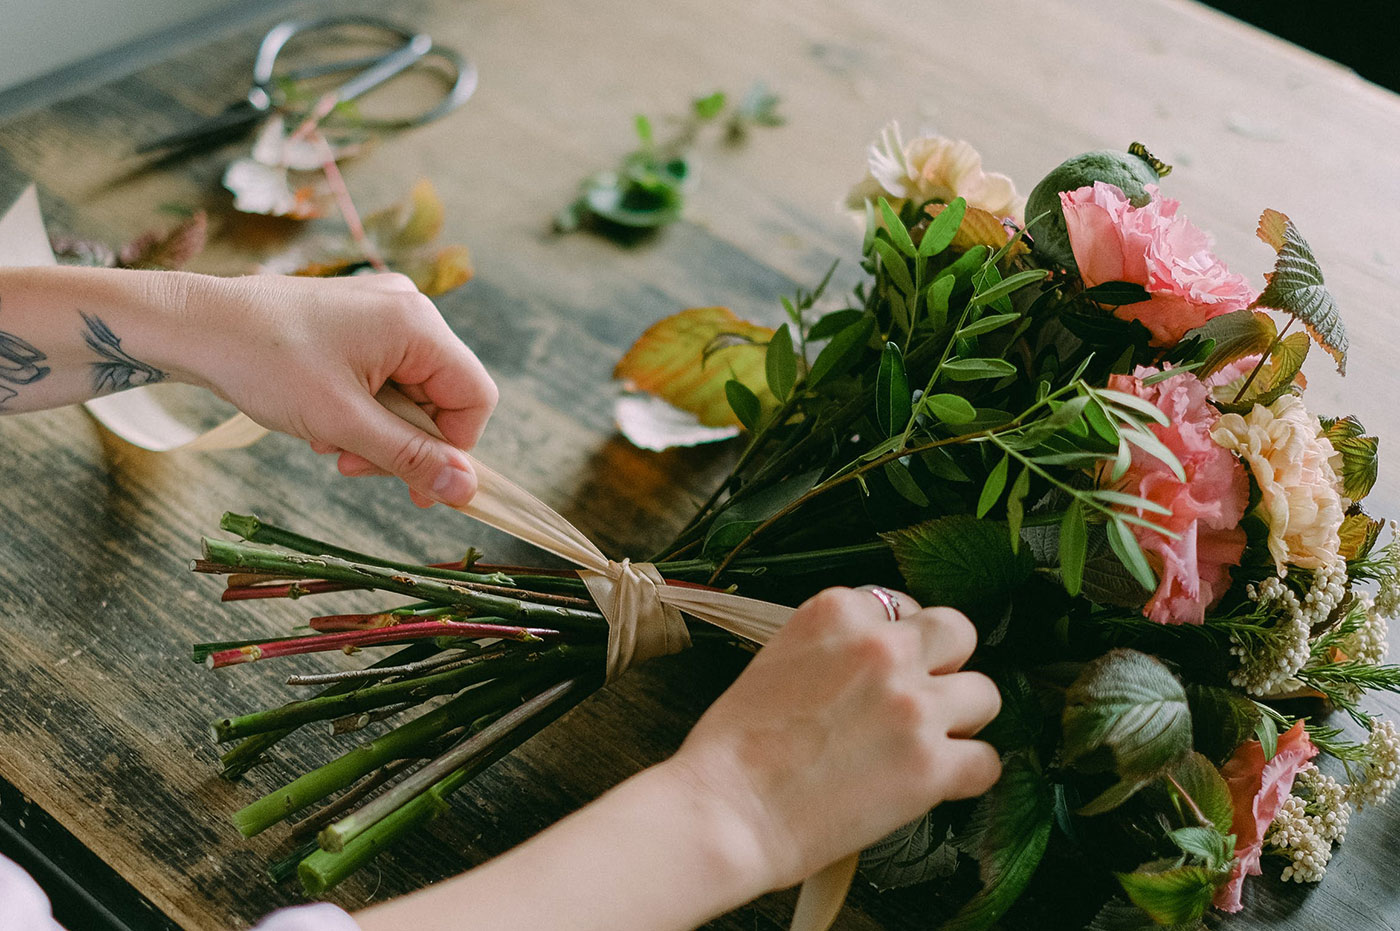
Your Beginner’s Guide to Hand-Tied Bouquets
There’s something truly special about a hand-tied bouquet. It’s a personal expression of beauty, a touch of nature’s artistry, and a skill anyone can master. Whether you’re gifting a friend, brightening your home, or simply enjoying the process, creating your own hand-tied bouquet is a fun and rewarding experience. Let’s dive into the simple steps to craft your own floral masterpiece!
Why Hand-Tied Bouquets?
- Personal Touch: They’re unique and reflect your individual style.
- Cost-Effective: You can use flowers from your garden or purchase them affordably.
- Creative Outlet: It’s a chance to experiment with colors, textures, and flower combinations.
- Versatility: Perfect for any occasion, from casual gatherings to special events.
- Eco-Friendly: Reduces the need for floral foam and other non-biodegradable materials.
What You’ll Need:
- Flowers: Choose a variety of flowers with different shapes, sizes, and textures. Consider a focal flower (the star of the show), filler flowers (to add volume), and greenery (for texture and support).
- Greenery: Select sturdy greenery like eucalyptus, ferns, or ruscus.
- Floral Scissors or Clippers: Sharp tools are essential for clean cuts.
- Floral Tape: To secure the stems.
- Twine, Ribbon, or Raffia: For finishing the bouquet.
- Water Source: A vase or bucket of water to keep your flowers hydrated.
Step-by-Step Tutorial:
-
Prepare Your Flowers:
- Remove any leaves from the lower portion of the stems that will be submerged in water.
- Cut the stems at a 45-degree angle to maximize water absorption.
- Place the flowers in a bucket of water to hydrate for at least 30 minutes.
-
Choose Your Focal Flower:
- Select your largest and most prominent flower to be the focal point of your bouquet.
-
Start Building Your Bouquet:
- Hold the focal flower in your hand.
- Add filler flowers and greenery around the focal flower, arranging them in a spiral pattern.
- Keep turning the bouquet as you add flowers, maintaining the spiral shape.
- Ensure that the flower heads are at various heights, to give the bouquet depth.
- Add greenery as you go, to create a base, and add texture.
-
Create a Stable Base:
- As you add flowers, ensure the stems are arranged in a way that creates a stable base. This will help the bouquet stand on its own.
-
Secure the Stems:
- Once you’re happy with the arrangement, use floral tape to secure the stems tightly together at the point where they intersect.
- Wrap the floral tape several times around the stems.
-
Trim the Stems:
- Trim the stems to the desired length, ensuring they are all cut at the same angle.
- Measure the vase you plan to use, to ensure the stems are the correct length.
-
Finish the Bouquet:
- Wrap twine, ribbon, or raffia around the stems to cover the floral tape and create a decorative finish.
- Tie a knot or bow to secure the wrapping.
-
Display Your Bouquet:
- Place your hand-tied bouquet in a vase filled with fresh water.
- Change the water every few days to keep your flowers fresh.
Tips for Success:
- Choose Fresh Flowers: Look for flowers with firm stems and vibrant petals.
- Vary Textures and Colors: Combine different flower shapes, sizes, and colors for a visually appealing bouquet.
- Use Seasonal Flowers: Seasonal blooms are often more affordable and readily available.
- Practice Makes Perfect: Don’t be discouraged if your first bouquet isn’t perfect. Keep practicing, and you’ll improve with time.
- Keep it Loose: Hand tied bouquets look best when they are not overly tight. Allow the flowers to naturally fall into place.
Creating your own hand-tied bouquet is a delightful way to express your creativity and bring a touch of nature’s beauty into your life. Enjoy the process, and don’t be afraid to experiment with different flower combinations and styles!


