Easy Tutorials for Creating a Corsage and Boutonnieres
Corsages and boutonnieres add a touch of elegance and personality to any special occasion, from proms and weddings to homecoming dances and formal dinners. While they might seem intricate, creating your own corsage or boutonniere is surprisingly simple and can be a fun, creative project. These easy tutorials will guide you through the process, allowing you to craft beautiful floral adornments for any event.
What You’ll Need:
- Flowers: Choose fresh, sturdy blooms that will hold up well. Consider using a focal flower (the main attraction) and smaller accent flowers.
- Greenery: Select small, attractive leaves or sprigs of greenery to complement the flowers.
- Floral Tape: This special tape stretches and adheres to itself, perfect for securing stems.
- Wire: 22- or 24-gauge floral wire is ideal for adding support to stems.
- Scissors or Wire Cutters: For trimming stems and wire.
- Ribbon (for corsage): Choose a ribbon that complements the flowers and outfit.
- Corsage Bracelet or Boutonniere Pin: To attach the floral arrangement.
Corsage Tutorial:
- Prepare the Flowers and Greenery: Cut the stems of your flowers and greenery to about 2-3 inches long. Remove any leaves from the portion of the stem that will be wrapped with floral tape.
- Create the Focal Point: Begin with your focal flower. Wrap floral tape tightly around the stem just below the bloom.
- Add Accent Flowers and Greenery: Arrange the accent flowers and greenery around the focal flower, positioning them at slightly different heights and angles. Secure each stem with floral tape as you go, building a small cluster.
- Wrap the Stems: Once you’re happy with the arrangement, wrap floral tape tightly around all the stems, covering them completely.
- Attach the Ribbon: Cut a length of ribbon and tie it around the wrapped stems, covering the floral tape. Secure the ribbon with a knot or bow. Leave enough ribbon tails to tie around the wrist.
- Attach to the Bracelet: If using a corsage bracelet, attach the floral arrangement to the bracelet with floral wire or by threading the ribbon through the bracelet’s loops.
Boutonniere Tutorial:
- Prepare the Flowers and Greenery: Cut the stems of your chosen flower and greenery to about 1-2 inches long. Remove any leaves from the portion of the stem that will be wrapped with floral tape.
- Create the Arrangement: Start with your focal flower. Add a small piece of greenery behind the flower, positioning it so it peeks out slightly.
- Wrap the Stems: Wrap floral tape tightly around the stems, securing the flower and greenery together.
- Add Wire Support (Optional): For added support, you can insert a piece of floral wire through the stem of the flower and fold it back on itself. Wrap floral tape around the wire and stem to secure.
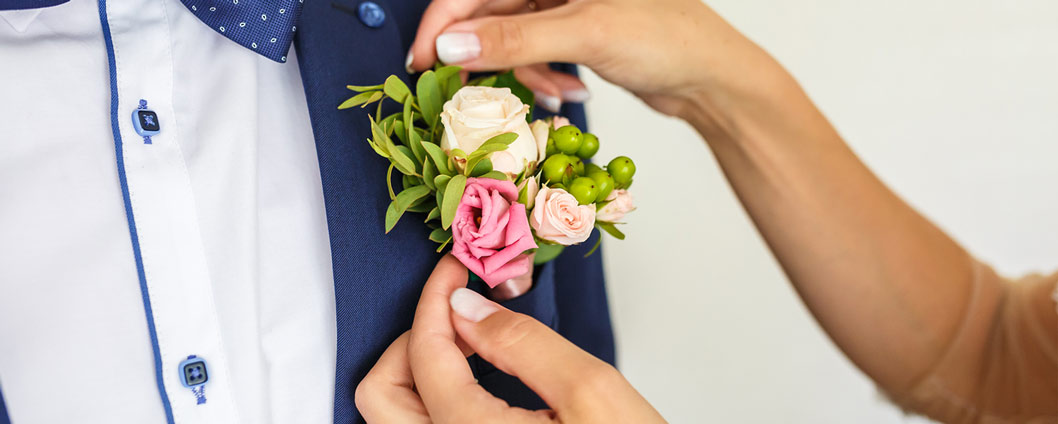
- Finishing Touches: Trim the stems neatly and add a small piece of ribbon or twine around the wrapped stems for a polished look. Attach the boutonniere pin to the back of the arrangement using floral tape.
Tips for Success:
- Practice Makes Perfect: Don’t be discouraged if your first attempt isn’t perfect. Practice makes perfect!
- Keep it Fresh: Use fresh flowers that have been properly hydrated.
- Consider the Outfit: Choose flowers and colors that complement the outfit the corsage or boutonniere will be worn with.
- Securely Attach: Make sure the corsage or boutonniere is securely attached to prevent it from falling off.
- Have Fun: Creating corsages and boutonnieres should be an enjoyable experience. Let your creativity shine!
With these easy tutorials, you can create beautiful and personalized floral adornments for any special occasion. Whether you’re a seasoned DIY enthusiast or a complete beginner, you’ll be amazed at how simple and rewarding it is to craft your own corsage or boutonniere.


