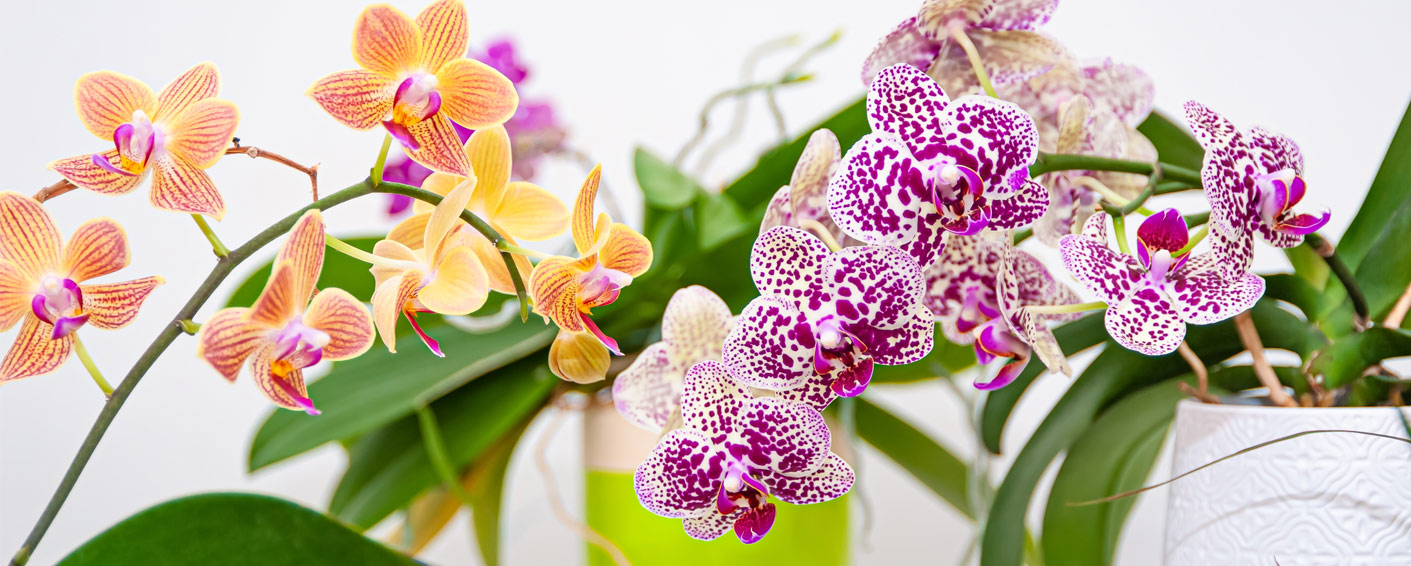
A Simple Guide to Repotting Orchids
Orchids, with their exotic blooms and graceful presence, are a popular choice for adding a touch of elegance to any home. But these captivating plants require a little special care, and repotting is a crucial part of keeping them healthy and happy. While it might seem daunting, repotting orchids is a straightforward process once you understand the basics. This guide will walk you through the steps, making the process simple and stress-free.
Why Repot Orchids?
Unlike many houseplants, orchids don’t need to be repotted frequently. Typically, repotting every 1-2 years is sufficient. The primary reasons for repotting are to refresh the potting mix, which decomposes over time and loses its ability to provide proper drainage and aeration, and to accommodate the plant’s growth if it’s becoming root-bound. You’ll know it’s time to repot if the potting mix is breaking down, the plant’s roots are growing out of the pot, or the orchid isn’t thriving.
Choosing the Right Pot and Potting Mix:
Orchids have specific needs when it comes to their growing medium. Avoid using regular potting soil, as it retains too much moisture and can lead to root rot. Instead, opt for a specialized orchid potting mix, typically composed of bark, sphagnum moss, perlite, or a combination of these materials. These mixes provide the necessary drainage and aeration that orchids require. When choosing a pot, select one that’s only slightly larger than the current one. Orchids prefer to be somewhat root-bound. Clear pots are often preferred as they allow you to monitor root health. Make sure the pot has drainage holes!
The Repotting Process:
- Prepare your materials: Gather your orchid, new pot, orchid potting mix, scissors or pruning shears, and a watering can.
- Remove the orchid from its old pot: Gently loosen the potting mix around the edges of the pot. You may need to gently squeeze the pot to dislodge the plant. Carefully remove the orchid, being mindful of the delicate roots.
- Inspect the roots: Once the orchid is out of the pot, inspect the roots for any signs of rot (mushy, brown, or black roots). Use clean scissors or pruning shears to trim away any damaged or dead roots.
- Prepare the new pot: Add a layer of fresh orchid potting mix to the bottom of the new pot.
- Position the orchid: Place the orchid in the new pot, ensuring that the crown (where the leaves meet the roots) is level with the top of the potting mix.
- Fill the pot: Carefully fill the pot with the remaining orchid potting mix, gently working it around the roots. Avoid packing the mix too tightly.
- Water lightly: After repotting, water the orchid lightly. Allow any excess water to drain completely.
Post-Repotting Care:
- Avoid fertilizing the orchid for a few weeks after repotting.
- Place the orchid in a location with bright, indirect light.
- Water sparingly, allowing the potting mix to dry out slightly between waterings.
Repotting your orchids might seem intimidating at first, but with a little understanding and care, it’s a manageable task that will help your orchids flourish. By following these simple steps, you can ensure your orchids stay healthy and reward you with their stunning blooms for years to come.


